Before New Flooring: The Subfloor Checks That Prevent Expensive Failures
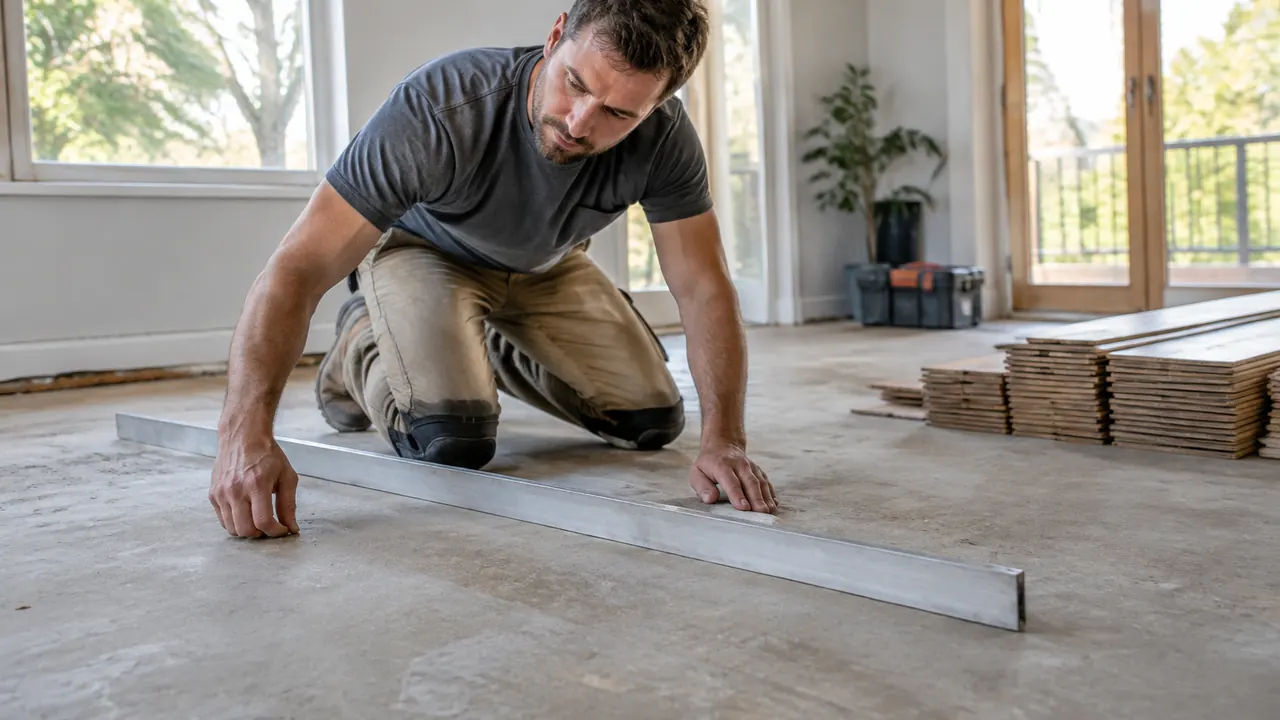
The most expensive flooring mistake may be hiding beneath the surface you are replacing. New planks, tile or carpet cannot reliably correct a damp slab, loose plywood or an uneven base. Problems that seem minor during a showroom visit can later show up as gaps, cracked grout, squeaks, lifting edges or damaged flooring. Fixing them after installation may mean removing material you just paid to have installed.
For a flooring project in 2026, treat subfloor preparation as a separate part of the purchase, not an assumed extra. Before approving the job, ask who will inspect the exposed substrate, which installation requirements apply and how unexpected repairs will be priced. This checklist covers the measurements, tests and clearance checks that belong ahead of installation—and the written details that keep a reasonable estimate from becoming an open-ended bill.
1. Inspect the actual base, not just the old floor
Start by identifying every layer beneath the proposed flooring. A concrete slab, plywood subfloor, oriented strand board and an old underlayment are not interchangeable surfaces. Existing tile, resilient flooring or adhesive may sometimes remain, but only when the new flooring system permits it and the existing layers are sound. A reassuring walk-through over carpet cannot establish the condition of the wood underneath.
Arrange an inspection before ordering whenever practical. If demolition must come first, the initial quote should distinguish visible conditions from concealed ones and include a pause for inspection before preparation proceeds. Photograph stains, patched areas, panel seams and cracks. In older homes, suspect flooring or adhesive may require hazardous-material assessment before removal, sanding or grinding; appearance alone cannot rule out asbestos.
- Record the substrate type, accessible panel thickness and existing flooring layers in each room.
- Identify soft spots, water staining, damaged seams, musty odors and previous repairs that need closer investigation.
- Assign responsibility for demolition, debris removal and any testing required before disturbing suspect materials.
2. Measure flatness—and separate it from level
A floor can slope gently and still be flat, or appear level while containing humps and dips. Most flooring installation instructions emphasize flatness: how much the surface varies beneath a straightedge of a specified length. Some products specify tolerances around 3/16 inch over 10 feet, but that is an example, not a universal rule. Use the exact requirement for the flooring, installation method and applicable setting materials.
Have the installer check the exposed base in several directions, mark high and low areas and document the measurements. A long straightedge helps reveal local gaps; a laser can help map elevations but does not replace the required flatness check. Preparation may involve compatible patching, grinding or a leveling compound. Do not assume a bagged leveling product is suitable for every wood floor, thickness or assembly.
- Ask for the product's written flatness tolerance and the straightedge length used to verify it.
- Price surface preparation by defined work, including primer, materials, labor and return visits.
- Require approval before preparation exceeds the allowance; do not accept an undefined promise to make it level.
| Condition | What it can mean | What to confirm |
|---|---|---|
| Localized dip | Unsupported flooring or uneven contact | Patch compatibility and permitted thickness |
| High seam or ridge | Rocking planks or uneven tile | Cause and safe correction method |
| Broad slope | Flatness may still be acceptable | Clearances, transitions and structural concerns |
| Widespread unevenness | More extensive preparation | Measured quantities and a separate price |
3. Test moisture with the method the system requires
Dry-looking concrete can still release enough moisture to damage flooring or adhesive. Likewise, a wood subfloor can hold excess moisture without feeling wet. Testing should follow the current instructions for the flooring and installation system, including the adhesive or moisture-control product. A handheld scan may help locate suspicious areas, but it is not automatically an acceptable final test for a concrete slab.
Concrete testing may involve in-slab relative humidity testing under ASTM F2170 or moisture vapor emission testing under ASTM F1869 when the system accepts that method. These measure different things, and their results are not interchangeable. Wood substrates typically need moisture-meter readings with appropriate settings or corrections. For wood flooring, compare the flooring and subfloor readings under the manufacturer's requirements, rather than relying on a universal target.
Ask for a dated report identifying test locations, results, site conditions and acceptance limits. The building should meet the required temperature and humidity conditions during testing and installation. Investigate leaks, drainage trouble or crawl-space dampness before covering them. If mitigation is proposed, get its compatibility and warranty conditions in writing. Neither a moisture test nor a topical treatment proves that an underlying slab vapor retarder exists.
4. Fix movement before covering it
Walk the cleared floor with the installer and note squeaks, bounce and movement at panel edges. These symptoms can have different causes: loose fasteners, damaged panels, inadequate support or framing that flexes too much for the intended finish. Driving in more screws may quiet a loose panel, but it does not establish that the framing is suitable for tile or natural stone.
Tile assemblies need adequate stiffness as well as a flat surface; natural stone often requires more demanding support than ceramic tile. Cement backer board is not a substitute for structural repair, and an uncoupling membrane cannot fix an inadequate framing system. On concrete, cracks deserve evaluation before someone simply fills them. Vertical displacement, recurring movement or other warning signs may call for a qualified structural professional.
- Mark movement and squeaks on a room sketch so repairs can be checked before installation.
- Specify panel replacement, fastening and support repairs separately from cosmetic patching.
- Have the installer explain how cracks, expansion joints and required movement joints will be handled.
- Recheck repaired areas before underlayment or flooring makes the substrate inaccessible.
5. Choose underlayment as part of a compatible system
Underlayment is not a general-purpose cure for a poor subfloor. Its job depends on the assembly: it may provide a smooth surface, cushioning, sound control, moisture control or a suitable tile substrate. Those functions are different. A soft pad that suits one floating floor can allow too much movement beneath another, stressing joints instead of protecting them.
Check whether the flooring already has an attached pad and whether an additional layer is permitted. For glue-down installations, verify the adhesive, primer, patching material and any moisture mitigation work together. For tile, confirm the complete assembly, including fastening or bonding requirements. In condos, obtain building approval for the proposed acoustic assembly; an advertised sound rating may reflect a tested floor-and-ceiling construction unlike the one in your unit.
Put the exact underlayment product and installation method in the quote, not just a line labeled premium pad. Also identify any required vapor-control layer and seam treatment. A moisture barrier, a wood underlayment panel and a cushioning pad should not be treated as interchangeable merely because all sit beneath the finished surface.
6. Calculate the finished height at every pinch point
Add up the entire proposed assembly: preparation layers, underlayment, adhesive or mortar where applicable, and flooring. Then compare that finished height with adjoining rooms, doors, stairs and fixed equipment. A small increase can affect a dishwasher's removal path or leave a door scraping. A substantial change can create an awkward transition or alter stair-riser consistency.
Have the installer check both installation and future service access. A dishwasher must fit under the counter and be removable without tearing out the floor. Refrigerators, ranges and laundry appliances also need their specified clearances and safe connections. Do not assume flooring should run under every cabinet or appliance; floating-floor instructions may restrict placement beneath fixed cabinetry or other loads that prevent movement.
- List doors needing trimming and jambs needing undercutting, with responsibility for finishing exposed edges.
- Specify transition locations, profiles and heights, including connections to stairs and exterior thresholds.
- Check appliance openings against the proposed finished elevation and the appliance manufacturer's requirements.
- Identify toilet removal, flange evaluation, resetting and any plumbing or electrical work as separate responsibilities.
7. Turn the findings into a quote with limits
The best quote ties the price to documented conditions. Ask for separate lines covering demolition, testing, substrate repairs, flattening, moisture mitigation, underlayment, installation and finish work. If the base is still concealed, request a clearly defined preparation allowance and a written change-order process. The contractor should explain what triggers additional charges and obtain approval before doing extra work.
For variable preparation, the quote should state quantities or pricing units and their limits: square footage and depth for patching, for example, or the number of panels to replace. Include furniture moving, appliance handling, door work, transitions, disposal and cleanup. Ask whether curing, drying or acclimation requirements could add days or return visits. A calendar date should not override a failed moisture test or unmet installation condition.
Before the new floor goes down, request a final readiness check against the selected product's current instructions. Keep the test results, substrate photos, approved changes and product information with the invoice. Confirm who warrants preparation and who handles a claim if the flooring fails. The goal is not a promise that nothing unexpected will happen; it is a process that exposes problems early and makes the cost of solving them clear.
Verify current manufacturer instructions, local requirements and contractor pricing, and consult qualified professionals for suspected hazardous materials, structural problems or persistent moisture.
AI Assistance Used — AI assistance was used in researching and drafting this article. It was reviewed, edited, and fact-checked by Nadia Clarkson before publication.