Make Photography a Hobby Without Buying a Camera
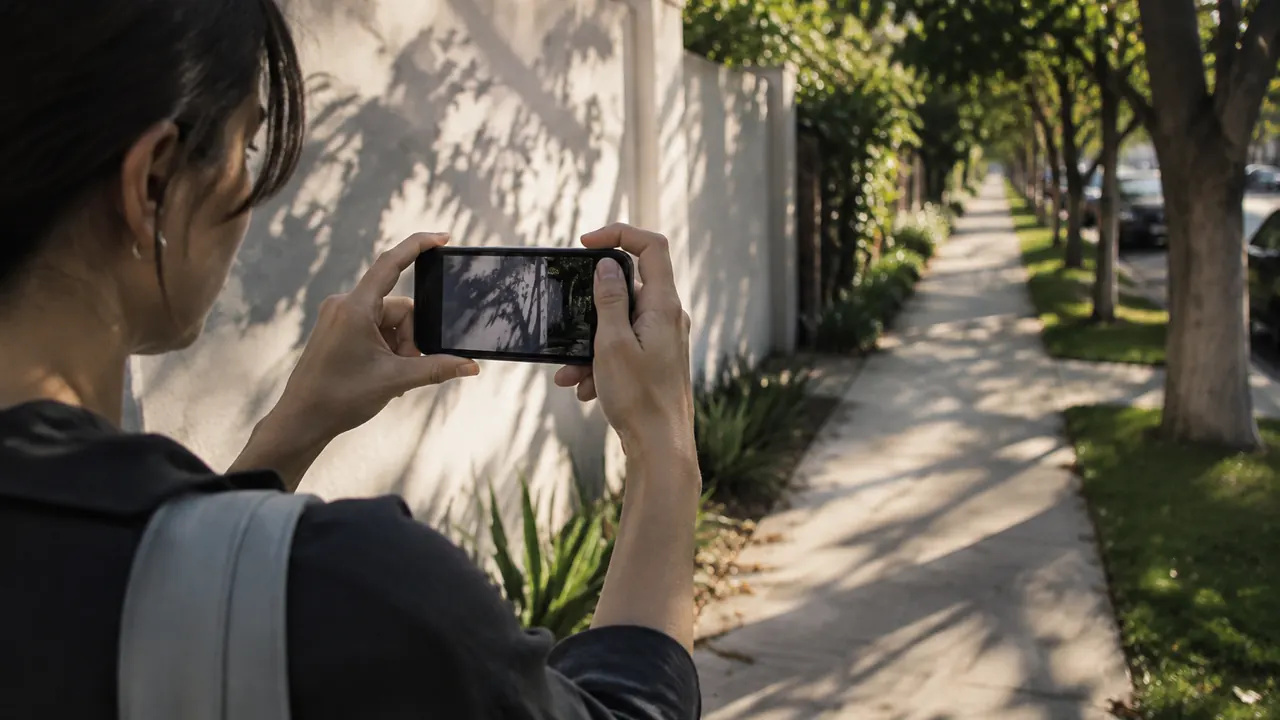
The easiest way to start a photography hobby in 2026 is to leave the shopping out of it. If you already have a phone with a working camera, you have enough equipment to practice noticing things: a stripe of afternoon sun, the shape of a stair rail or two colors that happen to meet. You do not need a new handset, a subscription editing app or a social account. The useful investment is a little attention, repeated often.
Start with a 15- to 20-minute walk somewhere familiar, choosing one exercise rather than trying to photograph everything. A block near home, an accessible park path or a courtyard you have permission to enter can provide plenty of material. These walks are not tests of whether you are talented. They are small experiments in seeing, followed by a few minutes of choosing what worked. Repeat a route and it becomes easier to notice changes instead of hunting for spectacular scenery.
1. Set up the phone you already have
Before your first walk, wipe the lens with a clean microfiber cloth and check that the phone has storage and enough battery. Open the regular camera app and use its standard photo mode. If your model offers a grid, turn it on to help spot tilted horizons and compare where objects sit in the frame. Keep the flash off for these daylight exercises unless you are deliberately testing its effect.
Tap the subject on the screen to set focus; many phones also let you adjust brightness with a nearby slider. Controls differ, so practice before heading out. Start with the main camera, often labeled 1x, rather than pinching to zoom. Strong digital zoom can make detail look smeared. Move only where it is safe and permitted; sometimes a wider photograph is the better choice. You can explore extra lenses later without making them a requirement.
- Choose a short, comfortable route with places to stop without blocking anyone.
- Set a loose limit of 20 pictures so each attempt gets some thought.
- Use a wrist strap you already own if it helps; no accessory purchase is necessary.
- Put the phone away before crossing streets, stepping off curbs or navigating uneven ground.
2. Walk for light, not landmarks
For the first exercise, photograph one ordinary subject in three kinds of light. A bench, tree trunk or your own hand can work. Look for open shade, direct sunlight and light coming from behind the subject. If moving the subject is impractical, return at another time or choose similar objects along your route. Notice where detail stays visible, where shadows become the subject and whether the background competes for attention.
On another walk, follow shadows rather than objects. Search for a fence shadow crossing pavement or leaves casting patterns on a wall. Take one wide view that explains the scene and one tighter view that becomes mostly shapes. Bright midday light is not automatically bad; it can be excellent for this exercise. Cloudy weather offers a different lesson, with softer transitions and less dramatic shadows. Avoid pointing the phone toward the sun for prolonged periods, and never look directly at it.
| Light | Try photographing | Watch for |
|---|---|---|
| Open shade | Texture on bark or brick | A bright background pulling attention away |
| Direct sun | Sharp shadows on pavement | Bright areas losing visible detail |
| Overcast daylight | Subtle colors and small details | Flat-looking scenes that need a clear subject |
| Backlight | Leaf edges or a silhouette | Glare and a subject that becomes too dark |
3. Change the frame before changing the subject
Choose something unremarkable, such as a public bench or a cluster of fallen leaves, and make five different pictures without relying on filters. Begin at standing height. Then try a lower viewpoint, a side view, a close detail and a composition with generous empty space. Stay on stable ground. The goal is to discover how your position changes the relationship between the subject and everything around it.
Before each exposure, scan all four edges of the screen. A clipped sign, bright trash can or stray branch may be more distracting than you noticed in person. Shift slightly and see whether the picture becomes clearer. Try placing the subject in the center, then near a grid intersection; neither arrangement is a rule you must obey. Use a path or railing to guide attention, but do not force every photograph to have leading lines.
- Make one frame with a single obvious subject and very little background clutter.
- Make another that shows the subject in its surroundings, including useful context.
- Review both at home and explain, in one sentence, what each picture emphasizes.
4. Give color a job
On your next walk, pick one color before leaving home. Look for five appearances of it: perhaps a blue planter, a painted door, a scrap of packaging, a bicycle or reflected sky. Photograph from places where you are allowed to stand, without handling other people's belongings. A color hunt narrows your attention enough to make a familiar route feel fresh, and it works even when the light is undramatic.
Next, look for a pair of colors rather than a single one. Orange against blue or yellow against purple may create strong separation; neighboring greens may produce a quieter picture. These are possibilities, not guarantees of a good photograph. Compare a frame filled with color against one where a small colored object stands in a mostly neutral scene. Keep editing modest at first: adjust brightness, straighten and crop if needed. Heavy saturation can hide what you were trying to learn about the actual light. If your phone applies automatic enhancements, check whether they can be adjusted, and compare with the original before saving. There is no need to use generative editing tools for this practice.
5. Return to one subject and build a small series
Pick a subject you can revisit without inconvenience or intrusion: a public tree, a shopfront photographed from a public sidewalk or a corner of your own kitchen. Photograph it once a week for a month. Use roughly the same position for one image each visit, then make a second picture however you like. Weather, maintenance, seasonal growth and your own choices can all change what the series communicates.
Give the project a simple name and an endpoint, such as “Four Wednesdays, one tree.” A bounded project is easier to finish than a promise to take a great picture every day. After the final visit, select four to six images that belong together. Include variation, but remove near-duplicates that add nothing. A private phone album is a perfectly valid finished project; printing and posting are optional.
- Record the date, approximate time and one observation about the light.
- Keep a reference frame so you can find a similar position next time.
- Choose one favorite after each visit and note why it holds your attention.
- At the end, identify one experiment to repeat on your next short project.
6. Organize favorites and make a real backup
After each walk, spend five minutes reviewing instead of letting every image disappear into the camera roll. Delete obvious accidents, compare near-duplicates and mark a few favorites. Make a dated album with a descriptive name, such as “2026-04 shadow walks.” In many photo apps, albums organize references rather than create extra file copies. Keep originals when possible, and save a separate edited version if your app does not offer reversible edits.
For photographs you care about, aim for three copies on two kinds of storage, with one copy off-site. One practical setup is the phone, an export to a computer or external drive, and a cloud copy. Cloud synchronization alone is not necessarily an independent backup: deleting a picture may also delete it from connected devices. Check your service's deletion behavior, recovery window, original-quality settings and storage limits. Periodically open several backed-up files to confirm they are usable, and protect accounts with multifactor authentication.
7. Make consideration part of the hobby
Photographing from a public place is often legally permitted in the United States, but rules vary by location and use, and access does not erase privacy concerns. Private venues can set photography restrictions. Respect signs, barriers and staff instructions; never enter a yard or lean over a fence for a better angle. Avoid aiming into homes or other places where people reasonably expect privacy. Ask permission for a close, identifiable portrait, and accept a refusal without debate.
Be especially cautious around children, people in distress and anyone whose location or circumstances could make publication harmful. Seek a parent or guardian's permission for a child's portrait and respect the child's wishes too. Before sharing, check for addresses, license plates, school identifiers and location metadata you did not intend to reveal. Do not assume an app removes those details. A successful photo walk ends with a few pictures worth keeping, not with someone feeling watched, cornered or used.
Check current app features, cloud-storage terms and prices, and local photography rules before relying on them.
AI Assistance Used — AI assistance was used in researching and drafting this article. It was reviewed, edited, and fact-checked by Nadia Clarkson before publication.