Counter-Depth vs. Standard-Depth Refrigerators: Measure More Than the Opening
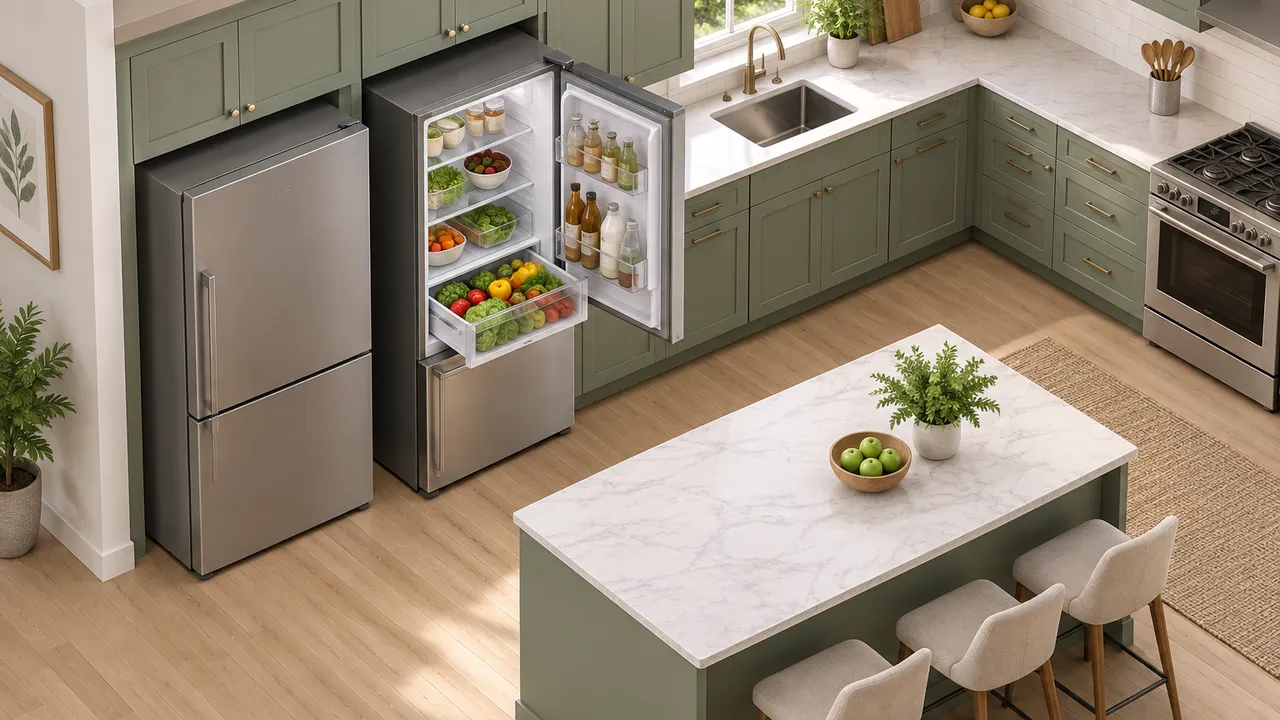
A refrigerator can match the width and height of a kitchen opening and still be the wrong purchase. Its handles may crowd the aisle, a door may hit a wall, or a produce drawer may refuse to slide out far enough for cleaning. Choosing between counter-depth and standard-depth starts with measurements beyond the cabinet recess. Take those measurements with the kitchen in use, including stools pulled out and nearby cabinet doors open.
Counter-depth models generally offer a shallower profile; standard-depth models generally trade a larger footprint for more storage. Neither label guarantees a particular fit or capacity. The better choice depends on what your household stores, how the doors operate and whether the appliance can reach its destination.
1. Separate cabinet depth from total installed depth
Counter-depth is not the same as flush or built-in. Many models still project beyond the countertop because their doors and handles need room to operate. Standard-depth refrigerators typically extend farther into the kitchen, but dimensions vary enough that the label alone is a poor planning tool.
Use the manufacturer's installation instructions and dimension drawing for the exact model number, not just a retailer's headline dimensions. Identify whether each depth measurement includes doors, handles and required rear clearance. Account for baseboards, the water valve and the outlet: anything behind the appliance can push it forward.
If the floor slopes, check how leveling changes the refrigerator's final height. Allow for the manufacturer's adjustment procedure rather than assuming the showroom height matches your installed appliance.
- Measure the opening's width at the top, middle and bottom.
- Check height at both front corners and beneath overhead trim.
- Record countertop depth separately from the rear wall to cabinet fronts.
- Reserve the model's specified ventilation and connection clearances.
2. Compare storage you can actually use
Advertised cubic feet describe capacity, not how easily your groceries fit. Two refrigerators with similar totals can divide space differently between fresh-food and freezer compartments. Shallower shelves may make leftovers easier to see, while deeper shelves can accommodate bulky containers but bury smaller items behind them.
Bring measurements of your largest regular purchases to a showroom: a casserole dish, pizza box or batch-cooking container. Check shelf-adjustment positions, door-bin height and freezer organization. Ice makers, beverage features and specialty compartments can change the storage layout substantially. Compare the exact configurations rather than assuming every counter-depth model sacrifices the same amount of space.
Photograph your current refrigerator immediately after a normal grocery trip. Use that peak load to test a candidate's layout, keeping designated air vents clear rather than packing every gap.
| Storage test | What to verify |
|---|---|
| Tall bottles | Fit without losing a shelf |
| Wide platters | Clear shelf width and depth |
| Frozen bulk buys | Space between baskets and dividers |
| Produce | Drawer dimensions and opening travel |
3. Test door swing and drawer removal
A door that opens enough to retrieve milk may not open enough to remove a crisper. Some designs need more than a right-angle opening for full drawer access; others advertise reduced-clearance hinges. Neither claim replaces the model's diagrams, especially beside a wall, pantry cabinet or projecting countertop.
Check both everyday access and occasional maintenance. On a French-door refrigerator, one compartment may require both doors open. A freezer drawer also needs space for someone to stand, bend and lift out a basket. In a showroom, reproduce the planned opening angle and test the drawers without forcing anything.
Test with door bins installed in their intended positions. An empty display with bins removed can conceal interference between a loaded door bin and a sliding interior drawer.
- Find the specified clearance beside walls and hinge-side obstructions.
- Check door edges and handles through the full opening arc.
- Confirm drawers can extend and lift out for cleaning.
- Locate water filters and verify their replacement access.
4. Measure the aisle as a working space
Measure from the refrigerator's anticipated front edge, including handles, to the island or opposite cabinets. Then map the open door and fully extended freezer drawer with painter's tape or cardboard. The remaining gap matters more than the closed-appliance aisle: someone needs room to load groceries, reach low shelves and pass safely when appropriate.
Consider nearby dishwasher and oven doors, cabinet drawers and the kitchen's main walking route. A shallower refrigerator can improve circulation, but the benefit shrinks if its door swing creates a new pinch point. There is no single aisle measurement that guarantees comfortable operation for every layout or user. For accessibility requirements or a renovation, check applicable local rules and consult a qualified kitchen designer; appliance installation clearances alone do not establish an accessible kitchen.
Identify a nearby landing surface for grocery bags and heavy dishes. Check that an open refrigerator door does not block the path between that surface and the shelves.
5. Verify the delivery route before checkout
The kitchen opening is only the final checkpoint. Measure the entire route from unloading point to installation, including exterior doors, hallways, stair landings and tight turns. Record clear openings with doors in their delivery position, not nominal door sizes. Turns require maneuvering space beyond a refrigerator's straight-line width.
Ask the retailer or delivery company which dimensions apply during transport and whether its crew can remove appliance doors, handles or house doors. Do not assume disassembly is included or permitted for every model. For an October 2026 purchase, save the current installation guide and get delivery responsibilities, connection requirements and failed-delivery or return fees in writing before paying.
For apartments, reserve the service elevator and confirm building delivery hours. Ask whether protective padding reduces elevator clearance and whether management requires advance insurance paperwork from the carrier.
- Measure narrow points, ceiling restrictions, steps and elevator openings.
- Photograph difficult corners and share them with the delivery team.
- Confirm water-line, shutoff-valve and electrical requirements in the manufacturer's instructions.
- Arrange floor protection and clarify old-appliance removal.
Verify model dimensions, installation requirements and delivery policies with the manufacturer and seller; specifications and service terms can change.
AI Assistance Used — AI assistance was used in researching and drafting this article. It was reviewed, edited, and fact-checked by Leah Fornier before publication.