Before Tearing Into an Older Home: Lead, Asbestos and Other Hazards
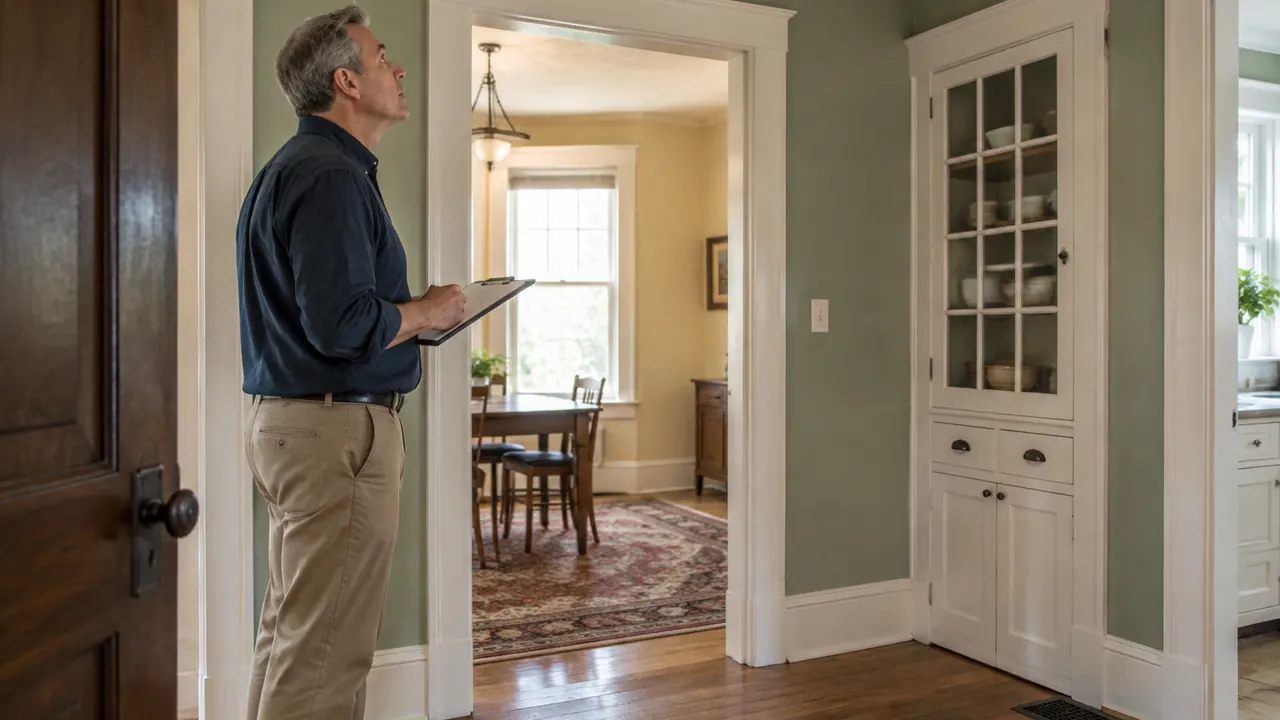
Before you pull up vintage flooring or knock through a plaster wall, pause. An older home can conceal lead paint, asbestos-containing products, energized wiring, gas piping and structural damage in the same work area. A surface that looks clean, solid or recently painted may still cover hazardous material. Conversely, an old-looking product is not automatically dangerous. The practical question is not whether the room looks dated; it is what your planned work could release, disconnect or destabilize.
For a renovation starting in 2026, the safest first purchase may be an assessment rather than a demolition tool. Build a pre-demolition plan around the exact surfaces and cavities you expect to disturb, then resolve uncertainties before opening them. Some intact materials can remain safely managed in place; cutting, grinding, sanding or breaking them changes the exposure picture. This checklist helps you decide what to investigate, what to leave alone and when qualified testing or remediation belongs ahead of DIY work.
1. Define the demolition footprint before checking materials
Write down everything the project will disturb, including access holes, fastener locations and debris routes. Removing a cabinet may scrape painted plaster; replacing flooring may expose older layers or adhesive; moving a sink may require opening a pipe chase. The assessment needs to cover those secondary disturbances, not just the visible finish you intend to replace. Ask your local building department about permits, required surveys and disposal rules before scheduling labor or renting a dumpster.
Gather the home's construction date, renovation records, inspection reports and any previous laboratory results. Treat records as clues, not blanket clearance: a negative result for one tile does not clear every flooring layer, and a remodeled bathroom says little about the adjoining wall. Missing records are a reason to investigate, not proof that a hazard exists. If an assessment excludes inaccessible spaces, plan for a stop-work decision when those spaces become visible.
- Photograph undisturbed rooms and mark every planned cut, scrape and removal.
- Identify who will evaluate materials, isolate utilities and approve structural changes.
- Keep children, pets and other occupants out of the proposed work zone.
- Set aside time and money for testing, changed plans and appropriate cleanup.
2. Check painted surfaces for lead before making dust
In the United States, homes built before 1978 are more likely to contain lead-based paint. That date is a screening threshold, not a guarantee that newer buildings or replacement components are lead-free. Lead may sit beneath newer coatings on windows, doors, trim, stairs, siding and walls. Friction surfaces and deteriorating paint deserve particular attention. Color, gloss and the absence of peeling cannot establish safety; demolition can turn an apparently sound coating into contaminated dust.
A certified lead inspector or risk assessor can help determine the appropriate evaluation. Professional testing may use an X-ray fluorescence instrument or laboratory analysis of paint samples. Consumer swabs have limitations and should not be treated as a universal clearance tool. A paint inspection identifies lead-based paint; a risk assessment evaluates lead hazards, potentially including dust and soil. Ask which service answers your renovation question and exactly which components the findings cover.
EPA's Renovation, Repair and Painting rule generally covers paid work disturbing painted surfaces in pre-1978 housing and child-occupied facilities, subject to specific exceptions. Covered contractors need appropriate firm certification and trained renovators. DIY work in an owner-occupied home is generally outside the federal rule, but that exemption does not make unsafe methods acceptable; rental situations and state or local requirements can differ.
| Question | Useful check | Important limit |
|---|---|---|
| Does this coating contain lead? | Appropriate paint testing | An untested component remains unresolved. |
| Are lead hazards present? | Professional risk assessment | Scope matters, including dust and soil. |
| Can this contractor do covered work? | Verify firm and renovator credentials | Check the administering state or EPA program. |
3. Treat suspect asbestos materials as a testing decision
Asbestos was used in many building products, including some resilient floor tiles, sheet-flooring backings, mastics, pipe insulation, boiler insulation, textured coatings, joint compounds, cement siding and roofing. Loose-fill vermiculite attic insulation is a special concern because some supplies were contaminated with asbestos. Do not sift through it or use the attic for storage until you have appropriate advice. A product's size, pattern or apparent age cannot confirm asbestos, and there is no single home-construction date that reliably rules it out.
The health risk comes from inhaling airborne fibers. Intact material that will remain undisturbed may be better left in place than removed, while planned cutting or demolition may require professional handling. Do not snap off a sample yourself: sampling can release fibers and must represent the relevant materials and layers. Use an appropriately trained asbestos inspector, with credentials required by your jurisdiction, and a qualified laboratory. Ask whether separate layers need separate analysis.
An inconclusive finding, untested hidden layer or suspected vermiculite calls for a specific professional plan, not a hopeful assumption. Verify state and local survey, notification, licensing and disposal requirements; federal asbestos requirements also depend on the building and project. Lead-renovation credentials do not establish asbestos qualifications, and ordinary demolition crews should not improvise asbestos removal.
| Suspect material | Why appearance falls short | Before disturbing |
|---|---|---|
| Flooring and mastic | Similar products can have different ingredients. | Evaluate each affected layer. |
| Pipe or boiler insulation | Paint or wrapping can conceal older insulation. | Arrange qualified inspection. |
| Textured ceilings and joint compound | Texture does not identify composition. | Test the affected materials appropriately. |
| Vermiculite insulation | Contamination is not reliably judged visually. | Leave undisturbed and seek specialist advice. |
4. Locate utilities and verify isolation
A breaker label, empty-looking pipe or silent appliance is not proof that a wall is safe to open. Older homes may contain abandoned-looking live wiring, mislabeled circuits, shared neutrals, concealed junctions and utilities rerouted during previous remodels. Solar equipment, batteries or generators can introduce additional power sources. Have a qualified electrician identify affected circuits, isolate them and verify the work area is de-energized before cutting. A noncontact voltage detector alone is not sufficient confirmation.
Have gas and water lines traced where the work could reach them. Gas disconnection and capping belong with the utility or an appropriately licensed professional, not a DIY demolition crew. For outdoor excavation, contact 811 before digging and follow your state's notice requirements; utility marking often does not include privately owned lines. Locate those separately. If you smell gas or hear a suspected leak, leave immediately without operating switches or equipment, then call the gas utility or 911 from a safe location.
- Identify shutoffs and panels without assuming every label is correct.
- Include drains, vents, refrigerant lines and buried private services in planning.
- Set safe cutting limits only after concealed service routes are assessed.
- Keep required exits and access to emergency shutoffs unobstructed.
5. Look beyond lead and asbestos
Water stains, musty odors, soft wood and sagging finishes can signal leaks, mold or decay. Fixing the moisture source is essential; removing stained drywall alone may not solve anything. Mold testing is often unnecessary when growth is visible, but concealed damage, extensive contamination, sewage exposure or possible HVAC involvement may warrant professional assessment. People with asthma, immune suppression or other vulnerabilities may need additional precautions and temporary separation from the work.
Check the structural role of any wall, post, joist or chimney before removal. A wall's direction relative to joists is not a reliable standalone test of whether it carries loads. Sagging floors, cracked supports, fire damage or insect-damaged framing call for qualified evaluation, often by a structural engineer. Also consider silica dust from concrete, brick, mortar and some tile products. Being asbestos-free does not make a masonry-cutting job dust-safe.
- Stop for substantial rodent contamination; dry sweeping can aerosolize contaminated particles.
- Flag old fluorescent-light ballasts and mercury-containing controls for appropriate handling.
- Assess crawlspaces for sewage, standing water and electrical hazards before entry.
- Do not cut structural members to investigate suspicious material or hidden services.
6. Put the work plan and cleanup requirements in writing
Once hazards are identified, get a written scope distinguishing ordinary demolition from lead-safe renovation, asbestos abatement and other remediation. Ask who is responsible for containment, worker protection, HVAC isolation, waste packaging and transport. Verify credentials with the relevant regulator and confirm insurance applies to the actual work. For significant hazards, consider an independent assessor rather than relying entirely on the removal contractor to define the problem and judge the result.
Do not assume plastic sheeting, a household vacuum or an N95 makes any job suitable for DIY. Controls depend on the material, task and exposure; some work requires specialized equipment, respiratory protection programs and regulated practices. Establish the required cleaning verification, clearance testing or inspection before accepting a bid, including who performs it. Define how occupants will be protected and whether relocation is needed. A low quote that omits disposal or clearance is not necessarily cheaper.
7. Make unexpected discoveries a stop-work event
Even a careful survey may miss materials sealed behind finishes. Agree in advance that unfamiliar flooring layers, wrapped pipes, unusual insulation, unidentified wires, strong odors or unstable framing trigger a pause. Stop tools, keep others away and avoid tracking debris through the home. Do not sweep, use compressed air or run an ordinary vacuum over suspect dust. Seek qualified advice before trying to contain or clean a release yourself.
Resume only after the discovery is assessed and the work plan updated. Keep reports, photographs, laboratory results, permits and disposal documentation for future projects and buyers. The central rule is simple: appearance is a clue, never a safety clearance. Resolve what you can before demolition, and leave room to stop when the building reveals something your plan did not cover.
Consult qualified professionals and verify current federal, state and local requirements before disturbing suspect materials or disconnecting building utilities.
AI Assistance Used — AI assistance was used in researching and drafting this article. It was reviewed, edited, and fact-checked by Lisa Barber before publication.