Planning an Electric-Car Road Trip Beyond the Advertised Range
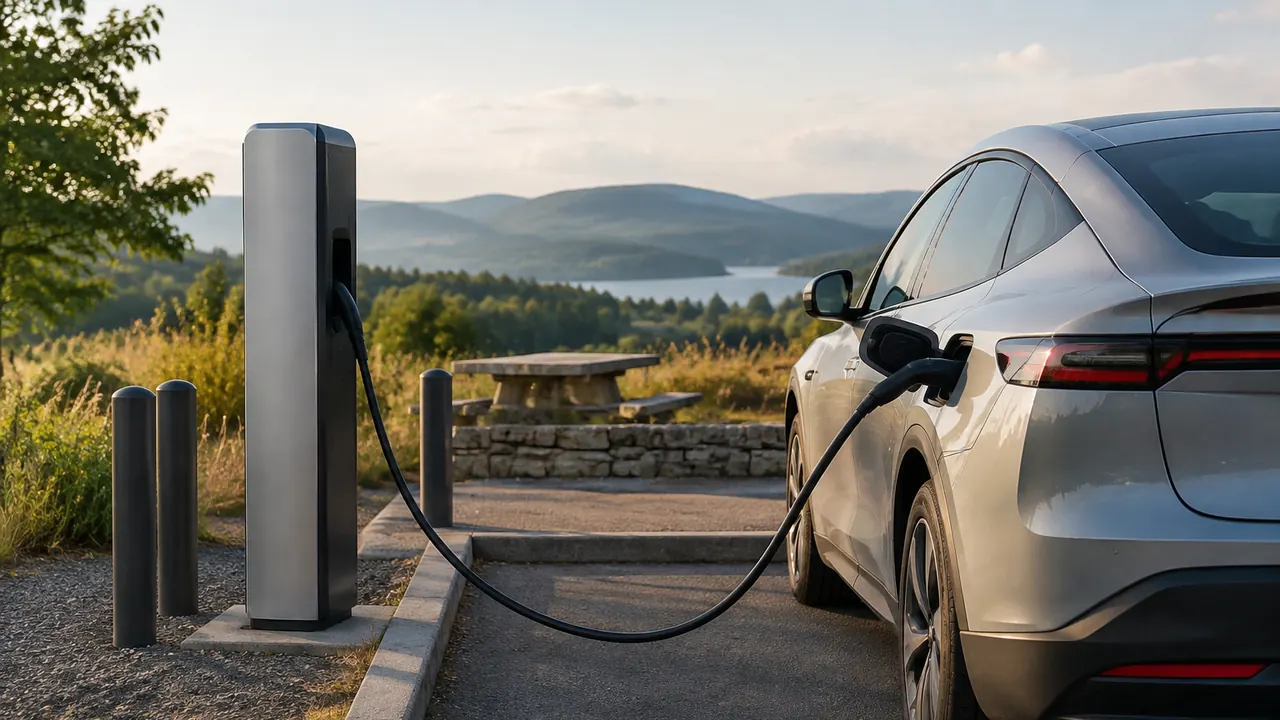
A long electric-car trip is not a contest to match the range on a window sticker. It is a series of drives between places where you can reliably add energy. The useful question is not whether a car can travel 300 miles under test conditions, but whether it can comfortably reach your next compatible charger on this road, in this weather, with an alternative still available.
For spring and summer travel in 2026, drivers have more charging options, but compatibility still requires homework. A familiar connector does not automatically mean a station will work with your vehicle, and a high power rating does not guarantee a quick stop. Build your itinerary around the actual car, realistic arrival margins and verified charging locations. Then adjust it as the trip unfolds rather than treating the original plan as a promise.
1. Start with the car, not its advertised range
Identify the exact model, model year, battery version and wheel configuration before estimating your driving legs. EPA range is a standardized comparison, not a highway guarantee. Sustained speed, cold temperatures, rain, headwinds, roof cargo and towing can all increase energy use. Battery age and condition can matter, too. A rental reservation that says “or similar” is not enough information to finalize charging stops; prepare a provisional route and revise it when the assigned vehicle is confirmed.
Use the car’s navigation alongside a reputable EV route planner. Enter the correct vehicle, departure charge and expected conditions, and check whether the planner accounts for elevation and temperature. For an unfamiliar car, favor shorter opening legs so you can compare predicted and actual consumption. If usable battery capacity is documented, multiplying it by a realistic miles-per-kilowatt-hour estimate gives a rough full-battery distance. Your planned leg must be shorter because you will not routinely arrive empty or leave every charger full.
- Confirm the charging inlet and the vehicle’s maximum AC and DC charging capabilities.
- Check whether battery preconditioning is available and how to activate it.
- Learn where the display shows battery percentage, recent efficiency and predicted arrival charge.
2. Verify compatibility at each planned charging stop
North America’s connector transition makes assumptions especially risky in 2026. Vehicles may use CCS1, the NACS connector standardized as SAE J3400, or, on some older models, CHAdeMO for DC fast charging. Access can depend on the vehicle model, charging network, specific station hardware and an approved adapter. A plug that physically fits is only part of the check. Confirm support through the automaker and charging network, not just a map icon or an adapter seller’s description.
Open the listing for the exact site, rather than relying on the network’s general coverage map. Look for compatible ports, operational status, access hours, parking restrictions and recent successful charging reports. Check whether a station is behind a gate or inside a garage with separate fees. At mixed sites, individual stalls may have different connectors or power levels. Verify that any adapter is approved for your vehicle and the intended AC or DC use; do not assume adapters are interchangeable.
| Charging setup | Best role | What to verify |
|---|---|---|
| AC Level 2 | Overnight or extended parking | Connector, adapter, access hours and vehicle AC limit |
| CCS1 DC fast charging | Highway travel stops | Vehicle compatibility and working CCS1 ports |
| NACS/J3400 DC charging | Highway travel where supported | Vehicle authorization, site support and approved adapter if needed |
| CHAdeMO DC charging | Travel in compatible older EVs | Exact working connector and reachable alternatives |
3. Build legs around reserves and reachable backups
Choose the route with dependable charging, not necessarily the fewest miles. A slightly longer highway with multiple compatible sites can be a better choice than a shortcut depending on one isolated dispenser. Start by marking overnight destinations, then add primary fast-charging stops and alternatives between them. Favor locations with several compatible stalls and nearby alternatives, while remembering that a sitewide outage can disable every stall. Check the surrounding roads: a charger across a divided highway may require a substantial detour.
Set a minimum arrival reserve before choosing leg lengths. Around 15% to 20% can be a reasonable initial planning buffer for an unfamiliar EV, but it is not a universal safety threshold. Increase it for cold weather, mountain roads, towing or sparse infrastructure. More important than a fixed percentage is having enough energy to reach a genuinely independent backup if the primary site fails. A backup beyond your remaining range is not a backup. Save its address and route before entering areas with weak service.
- Name one primary stop and one reachable alternative for each critical leg.
- Check backup compatibility as carefully as you check the primary site.
- Recalculate the next arrival estimate before leaving every charging stop.
4. Plan charging time, not just charger power
The number on a charging pedestal is its potential output, not a promise to your car. Actual power is limited by the vehicle, charger, battery temperature, state of charge and sometimes shared equipment or site power limits. Charging typically slows as the battery fills, though the shape of that charging curve varies by model. For many highway trips, charging only enough to reach the next dependable stop with reserve is faster than repeatedly waiting for 100%.
Use model-specific charging estimates that state their starting percentage, ending percentage and test conditions. A quoted 10%–80% time is not the time for a nearly full battery or a cold-soaked pack. If the car supports battery preconditioning, follow its instructions; on some vehicles, routing to a recognized fast charger in the built-in navigation triggers it. Account for the full stop, including detours, queues, connecting, payment and restroom visits. Do not assume a faster-rated dispenser will save time if your car cannot use its extra output. For remote stretches, accept a longer charge when the additional energy buys a necessary margin.
| Situation | Planning implication | Practical response |
|---|---|---|
| Low, warm battery | May accept higher power | Use the vehicle’s charging estimate |
| Cold battery | Power may be restricted | Precondition when supported |
| High state of charge | Charging often tapers | Leave once the next leg and reserve are covered |
| Shared or limited site output | Nameplate power may be unavailable | Allow extra time and monitor actual delivery |
5. Rework the plan for weather and elevation
Check the forecast along the entire route, not just at home and your destination. Cold weather can reduce available energy and charging performance while increasing cabin-heating demand. Headwinds, standing water and snow can also raise consumption. Hot weather adds cooling demand and may affect charging performance. Avoid applying one universal weather penalty: the effect depends on the vehicle, conditions and speed. Instead, rerun the route with the forecast and add margin when conditions are worse than the planner assumes.
Elevation requires similar care. A sustained climb can consume considerable energy before a later descent returns some through regenerative braking. Regeneration does not recover everything, and it can be restricted when the battery is very full or cold. Never count on a downhill section to rescue an arrival estimate that is already uncomfortably low. On the road, watch whether predicted arrival charge is trending downward. Stop earlier, choose a closer charger or reduce speed safely within traffic and road conditions. Do not compromise visibility or necessary heating to stretch range.
- While plugged in, preheat or precool the cabin when the vehicle supports it.
- Check tire pressure against the vehicle’s placard, not the tire sidewall maximum.
- Remove unnecessary roof-mounted gear when practical; aerodynamic drag matters at highway speeds.
6. Make payment, lodging and failures part of the itinerary
Set up likely charging-network accounts before departure, add a working payment method and confirm you can sign in. Some stations offer card readers or other payment options; others may require an app or supported vehicle-based authentication. Do not assume one method works everywhere. Save station addresses and customer-support numbers offline, and carry a phone charging cable. Check pricing units, session fees, parking charges, idle fees and any congestion-related rules before starting a session. Temporary card authorization holds can also affect your available funds.
Treat hotel charging as confirmed only after asking practical questions. Is it available to guests, reservable, functioning and accessible overnight? How many spaces serve how many vehicles, and what happens if all are occupied? Ask about fees and towing or valet restrictions. Keep a nearby public alternative, and do not base tomorrow’s longest leg on an unverified overnight charge. At any station, confirm that energy is actually flowing before walking away. If charging fails, follow the equipment’s instructions, try another compatible stall if appropriate, or call support. Leave for your backup before troubleshooting consumes your time cushion.
7. Ask these extra questions before driving a rental
Allow time at pickup for a demonstration, especially if this is your first drive in that model. Find the charge-port release, cable-unlock control, navigation settings and roadside-assistance contact. Photograph the starting battery percentage and inspect supplied charging equipment. Ask the agent to clarify unfamiliar features rather than experimenting while driving. Before leaving the area, consider a short charging test so account, adapter or connector problems surface near help.
Get return rules in writing. Required battery levels, charging-service fees and reimbursement policies vary by company and location. Plan a final compatible stop near the return branch, with enough margin for traffic and any drive after charging. A branch’s own chargers may not be available to customers.
- Which exact model and battery version am I receiving, and are my planned charging networks supported?
- Which adapters are included, approved and required, and must they be returned separately?
- How do I activate battery preconditioning and start or pay for a charging session?
- Is charging billed through the rental company, and are additional fees added?
- What battery level is required at return, and what assistance covers charging failures or a depleted battery?
Planning guidance as of April 9, 2026; verify current vehicle compatibility, station access, charging prices and rental terms before departure.
AI Assistance Used — AI assistance was used in researching and drafting this article. It was reviewed, edited, and fact-checked by Nadia Clarkson before publication.